Polyethylene Pipe Installation and Repair
Before knowing about polyethylene pipe installation and repair, let us know a little about polyethylene pipe. Polyethylene (PE) pipe was first commercially made in the 1940s, after World War II. Today, it is the second most widely used plastic pipe material after polyvinyl chloride (PVC). These two materials account for over 90 percent of all currently produced plastic pipe.
PE is a non-conductor and, therefore, not susceptible to galvanic or electrochemical corrosion, the mechanism that limits the durability of buried metallic pipes. It is also unaffected by most acids, alkalis, and corrosive salts.
While PE pipe has sufficient strength, toughness, and chemical resistance for water service pressure piping in common with other plastics, it has certain limitations on its performance, just as any other engineering material. These limitations include the following, which must be recognized and addressed to ensure a proper and durable installation:
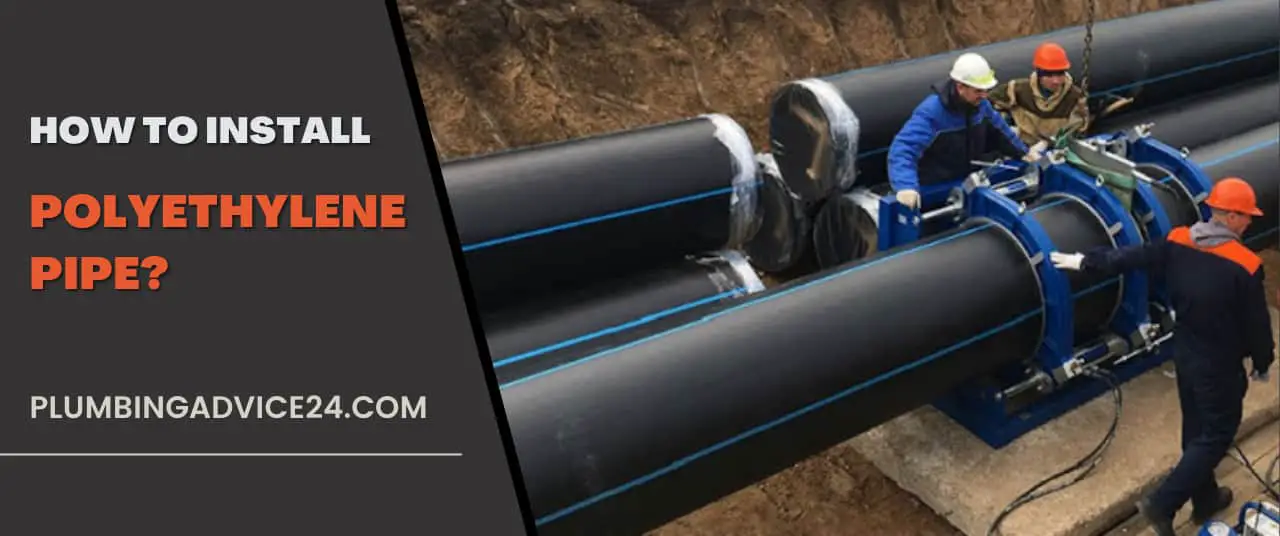
How to Install Polyethylene Pipe?
Before installing an underground poly pipe, you must first assess the site conditions, surface conditions, and application objectives. Where the pipe is to be buried at a relatively shallow depth, where subsoil conditions do not support the pipe, where surface loads or live loads are present, or where the pipe DR is high, the engineer will usually prepare specific installation specifications. Specific engineered installation instructions should be followed.
12” and smaller diameter PE pipe requires a cover depth of at least 2 feet (3 feet under traffic loading; up to 5 feet for frost protection). Consult Engineer for other depths. Other satisfactory methods or specifications may be available. This information should also be retained for the professional engineer’s judgment to achieve specific requirements. Trench installation involves digging a trench into which the PE pipe is placed, then backfilling after installation. There are several steps in this process.
Consider the following steps for polyethylene pipe installation in trenches:
- When first constructing a trench, consider code requirements for pipe size, surface condition, burial depth, surface load, pipe SDR, trench length, and groundwater elevation.
- Another important thing to consider is safety for the job site. To prevent injuries from broken trenches, shoring or bracing can be done. For unsupported excavations, trench walls can be sloped at a safe angle. Local codes may provide information about the slope of trench walls for specific areas. Additionally, de-watering may be required to keep groundwater out of the trench, For which wells, well points, or sump pumps can be used.
- The bedding material for the trench should be made of free-flowing material such as sand or gravel that is free of rocks larger than ½”. If large rocks are found and removed during construction, the remaining space will need to be padded with 4-6” of tamped bedding material.
- The PE pressure pipe shall not be dropped, pushed, pushed, or rotated into the trench to lay the pipe in the trench. Pipe up to 8” diameter polyethylene pressure pipe into the trench by hand. Use equipment to lift, move and lower large diameter pipe into trenches.
- The backfill material must be free of any large particles, lumps, or rocks. Excavated soil can be used, or off-site filled soil can be used. Backfill should also be compacted to 95% under roadways and 85% for all other applications.
Must Read : What Is Plumbing Pipe | 22 Different Types of Plumbing pipes
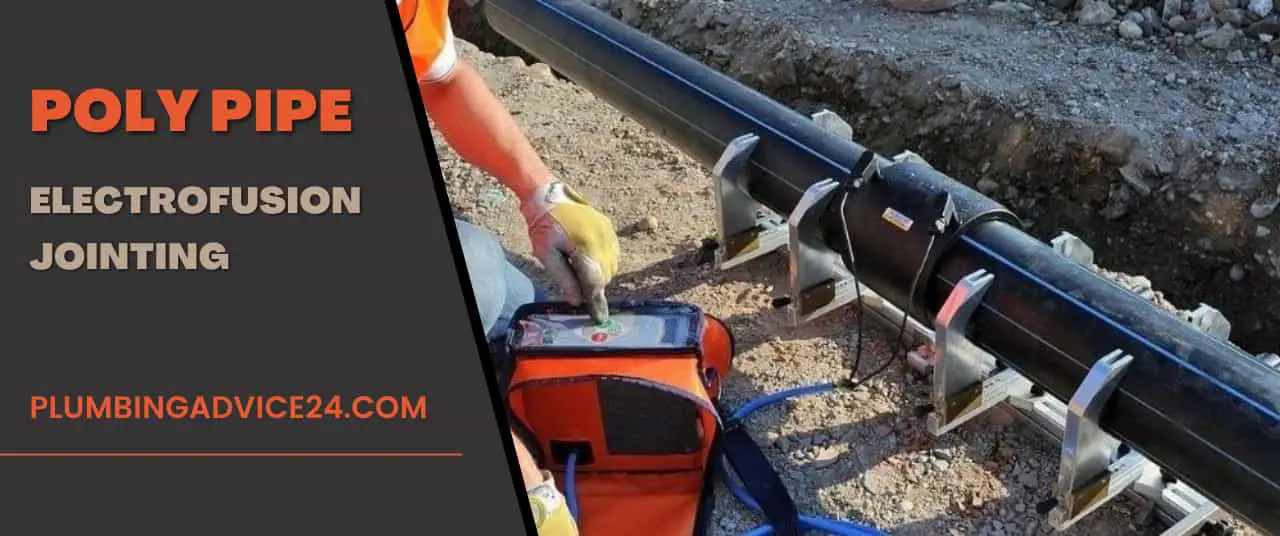
Electrofusion Jointing For Polyethylene Pipe Installation:
You know that Electrofusion Jointing is easy to do polyethylene pipe installation. But, for that, you need some training first. Don’t worry; you don’t need to go anywhere to study for it. We will teach you all about how you should do Poly pipe installation.
Electrofusion jointing for polyethylene pipe installation steps are as below:
- Clean your pipe. Make sure the pipe is dry, free of dirt, and clean.
- Cut the ends of the pipe square. You can use a saw to cut the pipe. Then remove all burrs. A handful of rubbing alcohol and a few wipes can be used to clean the pipe thoroughly.
- You have a fitting that the pipe slides into. Never touch the windings inside the fitting. You can fit EF as a residue from your hands. Contaminate the fusion joint.
- Now, when you install the slip couplers, you need Peel off the 2.5-fold coupling on the right and push the slip coupler past the end of the first pipe spigot. In this position, slide the coupler back onto the second spigot. Make sure you have a center. Your EF, in cases where the PE pipe will be out of round, the coupler will not operate.
- A coiled pipe will always be out of round. Then fit the other pipe into the fitting and tighten it with pipe support clamps. When it holds the joint firmly in place, your fusion joint is complete.
- You will need a good power source. Remember, check the gas, make sure the tank is full and make sure it’s all corded. You should check the fitting to see if it is compatible with the EF control unit that you plan to fuse. Connect the cables to your fitting and start the fusion process.
- Some fittings have a ‘Tegel timer.’ A small TT pops up when there is a fusion cycle. If they don’t pop up, the lightning has passed through them. You should never reheat the fitting. If in doubt, cut it. Make sure the fusion cycle is complete, and then the cool-down time begins. Do not move the pipe at all until the cooling period has passed.
- After your fitting has cooled, you should unclamp your pipe support and move on to your next fusion joint.
Must Read : What Is Polyethylene Pipe | PE Pipe Lifespan | PE Pipe Applications | PE Pipe Sizes | Polyethylene Pipe Cost
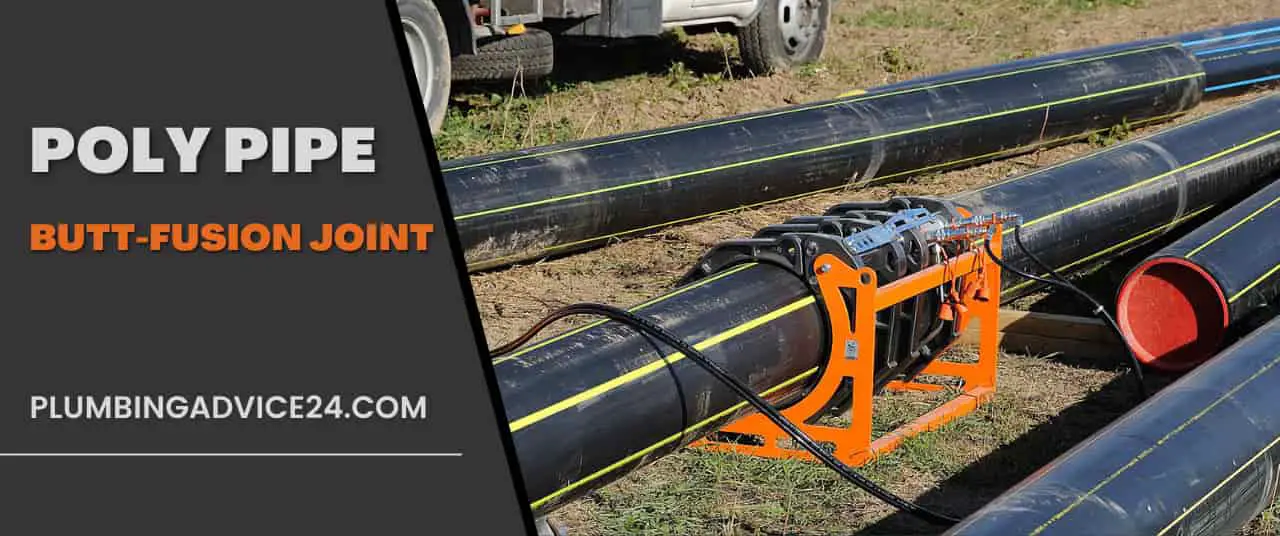
Butt Fusion Jointing For Polyethylene Pipe Installation:
Butt fusion has a higher level compared to electrofusion welding. It requires care and attention. You need a lot more skills for that. Before you get to the site, you need to do some planning. Take a look at the site and determine where the flat staging is and where the platform can be built.
- Fusion platform – pipe length x 3 x 4 meters wide
- Pipe String Platform – Proposed pipe string length x 5 meters or wider.
You also need some space for pipe storage; make sure the storage space is close to the fusion platform. Once on-site, complete and ship your first fusion joint. Do a stress test. It is common to submit new joints to stress testing. Then now, follow these important steps:
Butt fusion jointing for polyethylene pipe installation steps are as below:
- Set up your pipe rollers. The pipe string is stretched out on rollers, as it reduces drag. Make sure your first pipe is level with the seating of the rollers and also level with the butt fusion machine insert.
- Place your next pipe on the level rollers, and overstretch your fusion machine and joints.
- Clamp up, and pipe ends to ensure you are aligned. The two pipe spigots are parallel. Clean the pipe inside and outside And remove any stones. Barrels or spigots can be embedded in the pipe.
- Face your pipe, leaving no gaps. Between two pipe faces, there shall be no grooves or unfaced pipe ends.
- Now that you are ready for fusion clean your heater plate. Remove all the dust from it with a ‘terry towel.’ Place your heater plate between the two ends of the pipe and follow your fusion joint.
- Wait for cooling time. Then check the consistency of the fusion bead for the joint. Remember, if in doubt, cut it out. While some asset owners prefer to remove fusion beads, some beads for gravity sewer pipes cannot. It’s time to remove it, but you have to cut it while the beads are still hot. Have a shot to insert and a tool to remove the bead around you.
- Then unclamp the pipe. Increase string and rollers. Pull out the pipe string fusion. The machine on rollers and move on to your next fusion joint.
Must Read : What Is HDPE Pipe | HDPE Pipe Applications | HDPE Pipe Sizes | HDPE Pipe Price
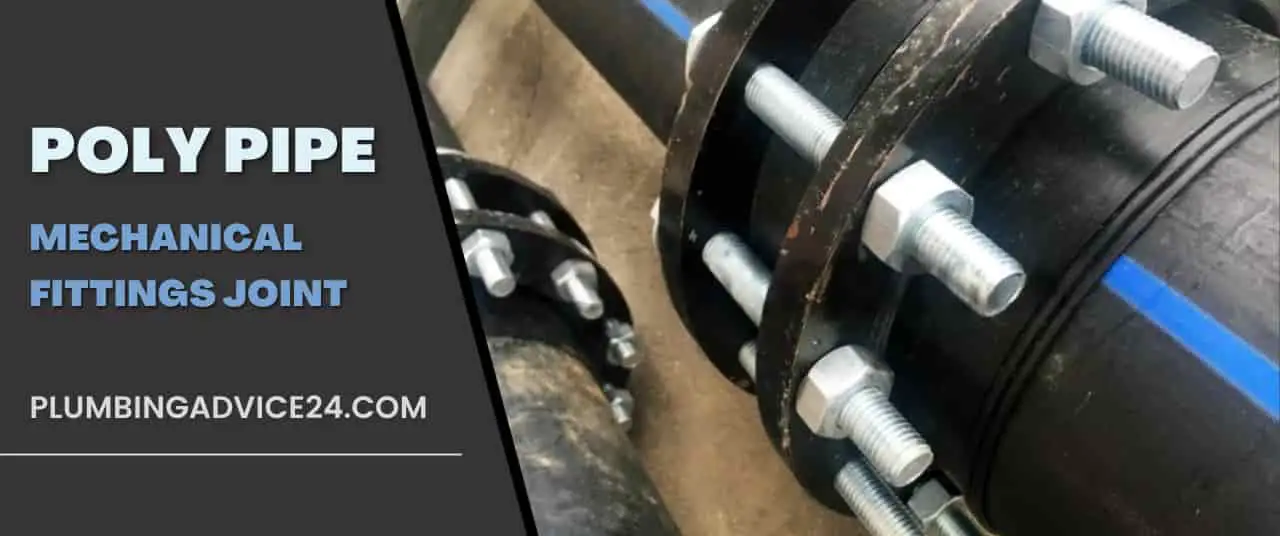
Mechanical Fittings Jointing For Polyethylene Pipe Installation:
If you want to do PE pipe installation, using a mechanical fitting is a good idea. The small diameter fitting range covers DN20-DN63, and The large diameter range covers DN75-110. The installation instructions are the same. Before assembly, ensure the following:
- Into which the end of the pipe is to be inserted. Fittings are free from scratches and other imperfections.
- That the end of the pipe and the fitting itself are clean of sand, mud, stones, etc.
- Do not over-tighten the nut when closing. Never use a wrench or spanner with a longer handle. Over 46cm – Excessive torque while tightening may spread the cone of the nut and result in pull-out.
- If the fitting is reused, make sure the split ring is sharp and bites into the pipe to avoid pulling. Alternatively, replace the split ring.
The manufacturer strongly recommends using PTFE tape in threaded connections, but three wraps should be used instead of overdoing it.
Mechanical fittings jointing for polyethylene pipe installation steps are as below:
- First, cut the pipe square and remove the burrs. It is good practice to chamfer ends with a pipe file.
- Undo the nut until last. Do not remove the threaded nut from the body.
- Twist the pipe through the fitting nut and split the ring until it first meets. Push and twist the pipe past the seal ring until it stops on the pipe, and stop the fitting in over the end stop.
- Tighten the nut firmly by hand. Use a wrench for that. Tighten the fitting hand tight for a further half-turn past the end. A complete hydraulic seal is achieved when passing through the pipe.
- Tightening the nut is only to achieve pullout. Resistance – the hydraulic seal, is automatic, created when the pipe is pushed past.
Must Read : What Is Pipe Fittings | 12 Types of Pipe Fittings And Their Uses
How to Repair Polyethylene Pipe?
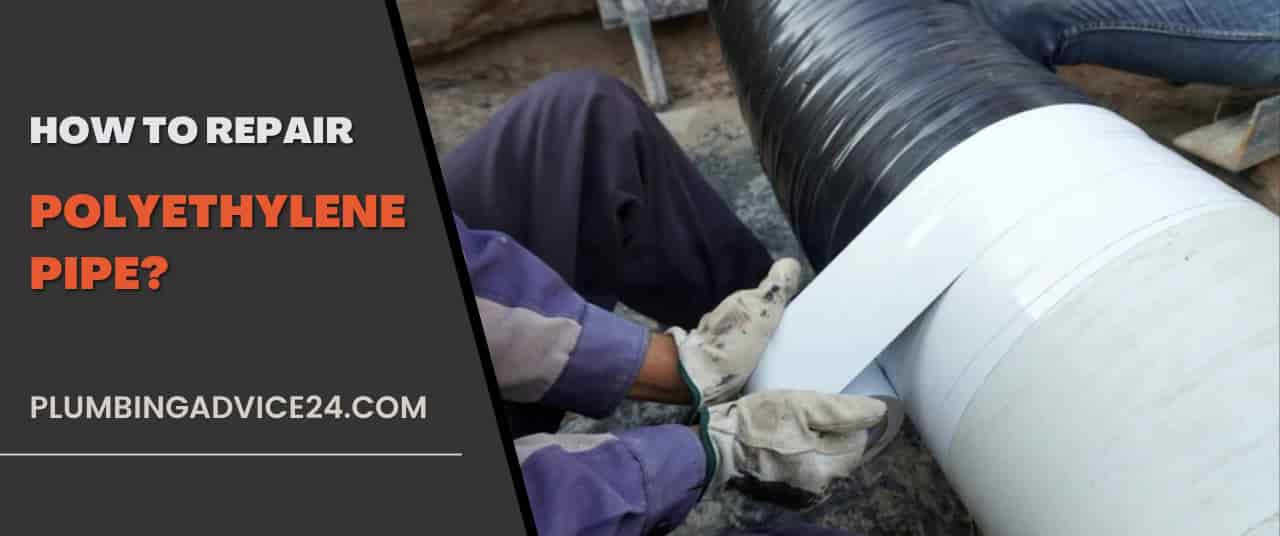
Polyethylene pipe repair consists of installing one or more brass barbed couplings secured with hose clamps. You will need to use specific clamps and a tool that securely squeezes the clamp around the pipe.
It is best to use a coupling with a nut part in the center to identify that the fitting is brass, which is required in many areas. If the damaged section of the pipe is large, you will need two fittings and a new section of PE pipe. Be sure to follow all local code requirements for repairs.
The steps for Poly Pipe Repair are as follows:
- You can keep the water off while you are trying to dig. You can turn on the water if you feel you are getting close to a leak. Or, turn on the water after the pipes are exposed to see where the leak is.
- Unless you know how deep the pipe is located, you should dig carefully so you don’t hit the pipe. If you know how deep it is, you can quickly dig the first part until you get close. Otherwise, dig slowly. As you get closer to the right depth, switch to a smaller trenching-style shovel for more control. Be sure to open it all the way around and under the pipe to make it easier for you to work with. Also, cut out any roots and remove any rocks that could damage the water line now or in the future.
- First, check the location of the leak. It is important to determine where the leak actually is so that you can decide which fittings to use for the repair. If the leak is at the tee, you can loosen the clamps and remove the barbed tee from the pipe so that only one pipe has to be cut. While you may have some room to work with, if possible, you want to avoid shortening the pipe on more than one side of the fitting. Determine how best to cut the pipe to make the repair based on where it is located. Then use a pipe cutter to cut the pipe.
- Place pipe clamps on the pipe before inserting each barbed fitting into the pipe. Insert one end of the fitting into the pipe, pushing it in as far as it will go. It may help to warm the pipe by submerging it in a bowl of very hot tap water (not boiling water), or if you have trouble pushing the fitting in, use a little liquid soap to lubricate the barbs.
- If you’re still having trouble getting the fitting in, you can try using a small handheld torch to heat the pipe. Heat the pipe quickly by flicking the flame over the first four inches of the pipe, then try to insert the fitting.
- Lift both ends of the pipe, align the other end of the fitting on the opposite pipe and push the fitting into the pipe.
- Slide the hose clamps over so that they are positioned over the barbs. Tighten each hose clamp with a screwdriver using a pinch clamp tool if necessary. Make sure the clamps are secure and stable.
- Turn on the water to check for leaks before backfilling the pipe. Sometimes the clamps will need a little extra tightening, so give them plenty of time to make sure they aren’t going to leak before you cover them. Once you are sure nothing is leaking, backfill the dirt.
Can You Use Compression Fittings on Poly Pipes?
Compression fittings are ideal for use with any tube made from CTS (copper tube size). It is best for all types of tubing, such as copper, brass, PEX, polyethylene, and nylon. You can use compression fittings for polyethylene pipe installation.
Can You Use PEX Clamps on Poly Pipe?
Connections made using S.S. Pinch Clamps with an interlocking design provide the same high-integrity connection as a copper crimp ring connection. Pinch clamps can be used on stainless steel, brass, and poly fittings.
When Was Poly B Banned?
Poly pipes were banned from new construction projects after 1995, but if they’re already in your home, there is no requirement to remove them. This is important to know if you decide to purchase a home that was built between 1978 and 1995.
Will Poly Pipe Freeze and Burst?
Any type of pipe you have is bound to burst. If there is water inside, plastic or copper will freeze and crack. When the temperature drops, the frozen water builds up pressure in the pipework and bursts.
Can You Bury Polyethylene Pipe?
Buried steel pipe is prone to pitting due to external (soil-side) corrosion, internal (water-side) corrosion, and biofouling. Preventive and mitigative measures include periodic inspection, cleaning, chemical and biocide treatments, and repairs.
Can You Repair Black Poly Water Pipe?
Black polyethylene pipe installation does not use glue to solvent-weld pieces together. Instead, two specially designed fitting types seal poly connections using friction. Both types have specific installation instructions to ensure they hold connections together under pressure.
Can You Polyethylene Pipe Repair Patch?
Polyethylene Pipe Repair Patch consists of spreading a layer of adhesive or resin on the interior of the hull over the crack and extending about 1” beyond the edges of the crack. Then take a cut-to-fit piece of fiberglass cloth and embed it into the adhesive or resin you just placed on the hull.
How to Irrigation Poly Pipe Repair?
If the bed spot is 2 inches or less, be sure to have even, clean ends on all sides of the tubing. Next, push one side of the good tubing onto the coupler. Once secured, push the other side of the good tubing onto the remaining exposed side of the coupler.
Can Poly Gas Pipe Repair Be Done with Coupling?
Poly repair Coupling allows you to safely and easily connect two pieces of polyethylene gas piping. Simply cut the pipe, slide in the provided stiffener, slide into the fitting, and tighten down. No special tools are necessary.
If You Liked This Post? So Share It with Your Friends
Suggested Articles :
- How to Repair PVC Pipe | Replace PVC Pipe Section | PVC Pipe Repair Without Cutting
- How to Install PEX Pipe | Repair PEX Pipe | Kink Repair in PEX Pipe | Fix Pinhole Leak in PEX Pipe
- How to Install ABS Pipe and Fitting | How to Repair ABS Pipe | ABS Pipe Schedule 40 and Schedule 80
- How to Install Copper Pipes | How to Repair Copper Pipe | How to Solder Copper Pipes
- How to Install Brass Pipe | Connect Pvc Pipe to Brass Pipe | Copper to Brass Threaded Connection | Repair Brass Pipes
- How to Install Steel Pipe | Repair Steel Pipe | Replace a Steel Water Pipe
- How to Install CPVC Pipe | CPVC Leak Repair | CPVC Joint Leak Repair | Causes of CPVC Pipe Failure
- How to Install uPVC Pipe | uPVC Pipe Installation By PVC Pipe Glue And Rubber Ring Joint | Repair uPVC Pipe


